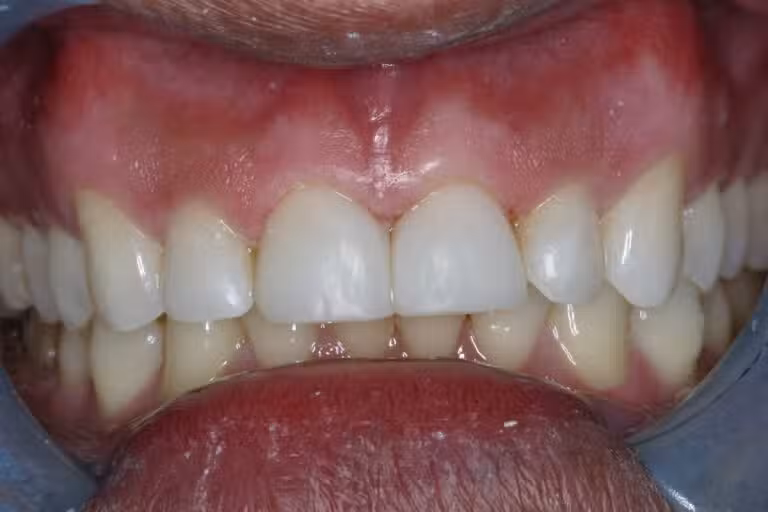
Bonding Case ID: 4112 Before and After Images BondingView More Images → This patient received Dental Bonding BondingView Case
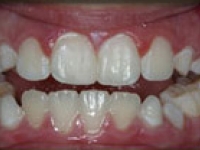
Dental Bonding Case ID: 3501 Before and After Images Dental BondingView More Images → Dental BondingView Case